Tuesday, July 17, 2012
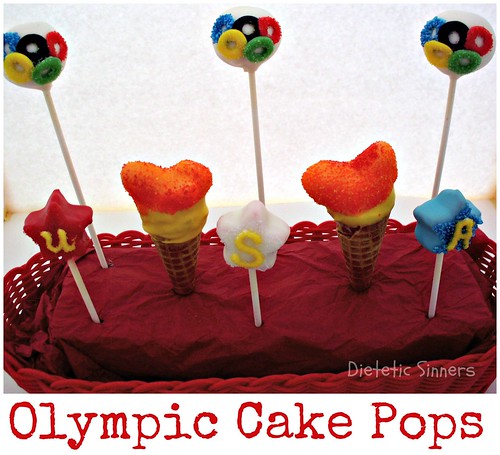
Olympic Cake Pops: The Flame
I keep seeing fun party and game ideas for celebrating this year's Summer Olympic Games. I wish I could be in London to see my favorite events but I don't even have a passport so that's not going to happen. Also, I'm pretty sure that just purchasing the plane ticket would bankrupt me. No. I'll just sit back in my comfy armchair, in the A/C, with cake pop in one hand and remote in the other. Entertain me, Olympians!
My favorite part of the Olympic games is the opening ceremony when they light the cauldron of flame (Fire! Fire!Fire! heh,heh,heh). It's always done in some insanely spectacular way and it amazes me that it travels all the way from Greece to wherever the games are held that year. Wouldn't be amazing to get to run that torch through your town? I hear it's pretty heavy but what an honor! My luck I'd go out as soon as grabbed it, lol!
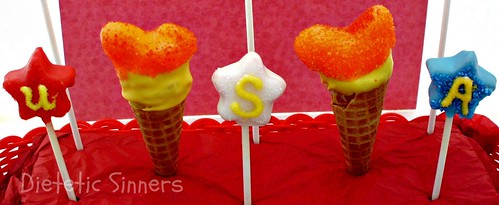
Thankfully these flaming torches will never go out. Maybe rot, if not eaten, but definitely not go out. Until you eat them that is!
They are insanely easy to make too. No mold, just some sculpting skill. Rudimentary sculpting skills, I promise!
Start by baking a cake and letting it cool completely. I usually do this the night before. Then cut up and place into the mixing bowl of your stand mixer with paddle attachment. Turn mixer on low and let that baby crumble that cake for you! So much easier than doing it by hand. Less messy too!
After crumbling, add in about a 1/8 to a 1/4 cup icing. Blend on low speed until combined. You may need more or less icing depending on how dry your cake is. I aim for the texture of play dough. This week I am using some pink Lemonade cake and vanilla icing. Let cake ball dough set for about an hour in the fridge. i find that this makes forming cake balls an easier process.
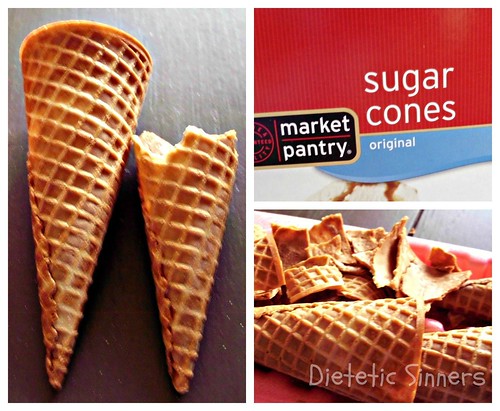
While dough rests, prepare sugar cones. I wanted a smaller cone so I tore them in half. I have seen mini sugar cones at the store before so if you want to save yourself a step try to find some. My cones crumbled half way down with no problem. Just have a gentle hand with them because they can be delicate.
After letting dough rest and preparing your torch bases (sugar cones). Shape dough into a vaguely shape like form. I was kind of thinking about the Statue of Liberty as I sculpted. I tried for three wisps of flame initially but that didn't work out too well. Melt a little bit of white Candiquick in the microwave per package instructions. Dip your flame end into chocolate and affix to the inside of sugar cone.
Let the Candyquick set. When all set, melt some yellow and orange candy melts or use non-water based candy dye to color your Candyquick white chocolate yellow and orange. Have your orange, red and yellow sprinkles open and ready to go. Dip flame end of torch into yellow candy melt. Let set. After dipping all the flames yellow and letting them dry, dip the very tips into the orange. Quickly sprinkle with your sprinkle assortment. I used colors that reminded me of flames. Also, I like-a the sparkle!
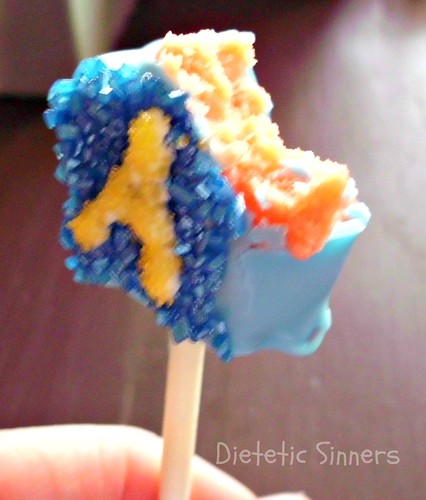
Oh la la! Look at that sparkle! I only made six Olympic torches so I could have some leftover dough for other projects. I had a star silicon mold that I have used before to make awesome star shapes. It's supposed to be for ice cubes but it works perfectly fine for cake pops. Just smoosh in your dough really well. Pop in the freezer for 15 minutes. Pop the the little stars out. Add your sticks coated with a little bit of Candyquick. Put in the fridge to set up and dip in candy melts when all set up. Decorate as you wish. I am of course rooting fort my home country so GO USA! Check out Club Candiquick for more sweet Olympic treats!
What's your favorite part of the Summer Olympics? The opening, the closing, the hunky swimmers...
Subscribe to:
Post Comments (Atom)


Love it, thanks for sharing!!! :) The U-S-A star pops are great!
ReplyDelete